

Initially i was going to call this portrait documentary POPS “Portrait of a Prospect Sportsman, however, after brainstorming for ages and searching the internet for ideas on what to call this project i decided to call the project “Against The Ropes"
The reason for this name is that, throughout his childhood upbringing Oli has been against the ropes, on the verge of defeat to the point that he contemplated suicide at one point. However, with the determination to start life afresh and build up his confidence, he fought back and turned himself into a new person; strong, confident and determined to succeed and prove those who didn’t believe in him wrong.
So for this reason, i thought that “Against the ropes” is a good name because it represents Oli’s story.
For the poster design, i went for a simple design, using the backdrop of the gym which i decorated during a shoot day, and taking a picture of Oli wearing his T-shirt and looking normal - plain faced into the camera. The reason for this is that i didn’t want to get a typical macho hardman picture of Oli, i wanted something rather relaxing. Although, my choice in colour, making the picture darkish, is to give a kind of ominous feeling.


Now that i have my picture lock, i have started to go through and colour correct then grade each clip.
My work flow for this is, first I’m going to correct then grade my interview, then once i have my look for the interview, i will then move onto the main bulk of the project, colour correcting the image, balancing it out so that the exposure and colour is correctly exposed for each scene, then applying a grade through the whole portrait to get the desired look that i want.
The tools that i’m going to be using to carry out my colour correction and grade is firstly lumetri colour tool inside of adobe premiere, then once i’ve done that, i may also use Magic Bullet looks, and also Film convert, plugging to grade the shot a bit more with the specialist tools inside of those plugging’s.
0 - Lumetri scopes for reading not exposed picture

So that i was able to tell how each clip is exposed and how much colour is within the scene, and how saturated it is, i relied upon the lumetri scopes to give me an accurate colour and exposure reading, as relying upon your eyes can sometimes be unreliable, due to them not showing you the real true exposure and colour of the scene if your monitor is not calibrated decent enough.
Looking at the waveform luma scope we can see that the interview footage is clipping in the white area at the top of the scope at 100 IRE, and the mid tone which is Oli’s face are between the high end of 40 - 80 IRE, creating very little contrast, and the blacks; even though at 10 ire, are pushing more towards the grey area and are lacking in contrast, making them look washed out.
So to correct this footage i first set my basic correction, getting my exposure levels correct, but slightly making the footage blue, as I’m looking to bring back the skin tones by turning up the saturation in the creative panel towards the end of the grade
1 - Basic correction

Then using the 3 way colour corrector, i moved the mid tones a little to the blue, the shadows slightly towards the reds and the highlights slightly towards the reds, turning up the exposure a little bit on the highlight to bring the reds up, and also increasing the exposure very slightly on the mid tones to bring up the blues a little, increasing the contrast shown in the reds on the RGB parade.
2 - 3 way colour wheel

Then using the curves and hue saturation curve, i used this to balance the RGB parade, bringing the blue’s highlight back down to 95 ire, but further increasing the contrast in the blues and to increase the red back to 96 IRE so that all the highlights are clipping around the same reading.
3 - RGB curve and hue for skin

Then after applying a some saturation to bring back the skin tone a bit more, i cropped up my image and applied a vignette effect around the edge of the frame to focus the attention on Oli even more, and try lessen the highlights of the background, due to the overexposed composition from the sun beaming through the curtains.


Because some of the shots that i filmed at night had too much noise in them, i used the remove noise plugging to remove the noise and smoothen out the footage


Because this jogging shot was over exposed, i duplicated the layer and darkened the overall image, but this also made Oli darker as well, so i created a layer mask around Oli and the mask track Oli whilst he was jogging, which enabled me to turn up the shadows around Oli and increase the brightness of him.


Having locked my picture, i’ve now imported the interview audio into adobe audition to clean it up, as adobe is a specialist sound design tool that has more pluggings that will fix the audio to the requirements that i need.
To help me with tidying up the audio, i followed this tutorial by
Importing sequence into adobe audition
Although i took the audio clips into adobe audition, i found the process long winded and overcomplicated for what i needed to do. The reason for this was, i levelled out and cleaned up my audio inside of premiere, however, when i imported the audio sequence file into audition, even though it is suppose to keep all of your keyframe animation and fx applied to the audio tracks, i found that it did not copy everything over as i had hoped. Also, when i tried to mix down the interview and make it sound clear, removing the background atmospheric noise from the pre-amp, it made Oli’s voice sound very digitalised and unnatural.
So for this purpose, i thought that i’d mix the audio inside of premiere pro, being that i know the plugging a lot better, plus, i already started audio work on the program.
The tools that i used to mix down my interview audio was the Audio track mixer, applying the selected sound fx
Multiband compressor de esser: to remove all of the sibilant consonants, such as “s”, “z” and “sh” mentioned during the interview
De crackler: Used to get rid of the cracks and pops when the audio was sliced during a sentence, as at times it would start with a crack or pop due to the abrupt cut in the audio
DeNoiser: To remove the pre-amp sound during the pauses in-between sentence throughout the interview.
Multiband compressor legacy: Film plugging used to raise the volume of the interview
EQ: Loudness: Used to raise the high end frequency of the interview, as some of it was lost due to the compression of the pre-amp from the DeNoiser plugging

Where i have my story locked, i’ve now started editing in sequences to the story
Whilst editing in my sequence, i’m also working on the audio at the same time so that it is not left until the very end, as the audio is as important as the picture itself. The mix down i’ve done on the sync assembly is a pre mix down, so that by the time that i have a picture lock and grade, i can import then master the audio inside premiere for a final mix down, compressing the interview audio so that it sounds crisp and clear, mixing it in with the various sound tracks and audio foley within the portrait documentary.
Audio Mixdown
-Pre mix down
So that i could effectively edit the audio, i switched off all of the images, so that i could only see the audio section and the wave frequency, allowing my machine to work a lot faster.
How i’m mixing down my audio is, i’m doing a first mix down in adobe premiere, using the gain tool to control my audio levels so that it’s not peaking and overpowering the main audio, plus using the fade in and also the pen tool to key in audio fades, so that the audio is not harshly cutting in.


Whilst cleaning up the audio, i also went through the interview, removing out any repeated words, and some ‘ums’ and ‘ahh’s’, making sure that it sounded clean.
What i done to clean up certain jump cuts in the audio which i had edited during the interview was, i would use fade in edits with the pen tool to avoid the harsh cuts of the audio peaking on certain words, so for example, if i edited out a word that was said during a sentence and moved next piece of dialogue closer, so that you wouldn’t notice the edit, i would fade in the dialogue with the pen tool so that it sounds like a natural sentence.

During the edit, where i had already purchased my music, whilst laying out the music, i also edited some of the soundtracks to make them longer. How i done this was, i found the specific parts of the tracks that i could loop and chopped them at the specific bar region then copy and pasted the audio, then, using the pen tool i faded in the audio so that you would not notice the editing of the track.
Here’s an example where i took a track that was 1 minute long and looped it to 5 minutes long


Tag :// Final Major Project,
Tag :// Idea development,
Tag :// Post-Production,
Tag :// Project Update

So that i could find music for the portrait, i visited a website called themusicbed.com that specialises in music and talked with a content specialist, sending them examples of the type of music i was aiming for and documentaries that had the kind of music and feel / mood to them that i liked.
After discussing with the specialist, they then sent me over a list of songs for me to browse though that met my criteria.
Having looked through the list i was pauperised as most the music was very good, and i managed to pick 4 soundtracks that fitted the mood and tone of various parts of the portrait, so i ended up purchasing the tracks
With the purchase of the tracks i obtained a music licence that gives me the right to use the music on my portrait documentary across a variety of platforms.
 |
| Conversation with music consultant |


Tag :// Final Major Project,
Tag :// Project Update

Following up from the research that i had done prior, i decided to take the route of filming a Photoscape rather than using the Ken burns effect to show pictures throughout the portrait.
Using various location throughout my house, i set up a Photoscape mood board to show various photos of Oli as a child growing up with his family, and also with his dad.
Because i was unable to receive footage in time from Olis farther, i found some images online of Tony when he was younger training, so i printed them off onto 200g Laser Gloss paper and cut them out, so that i could include them amongst the montage of photos that i had of Oli and Tony already.
The way how i designed the Photoscape of Oli growing up with his mom brother and sister, i presented the photo's amongst a variety of other family photos that i had received from Karen (Oli's mom), making sure that the photos of Oli with his mom and siblings were placed atop of all the other pictures in the background, so that whilst i'm panning across the pictures, the audience can get a sense of the type of character Oli was as a child, seeing his history as they scour the screen filled with a montage of photographs.


When Oli talks about looking up to his dad, i created a Photoscape on my windowsill, laying at the pictures in an order that tells a story about the relationship Oli had with his dad, but also showing the history of Oli's dad by what Oli knew of him, then finishing up with a picture of Oli and his sister and father pulling a funny face.


For the picture with Oli and his siblings, i took that picture on my balcony, placing the pictures on the individual wood columns using blue tack. The reason i made this decision, was because one of the jogging scenes in the opening act of the portrait has Oli jogging with some green metal motorway poles in the background, so filming a panning shot along my balcony was an attempt for me to try and visually match the scenes together.


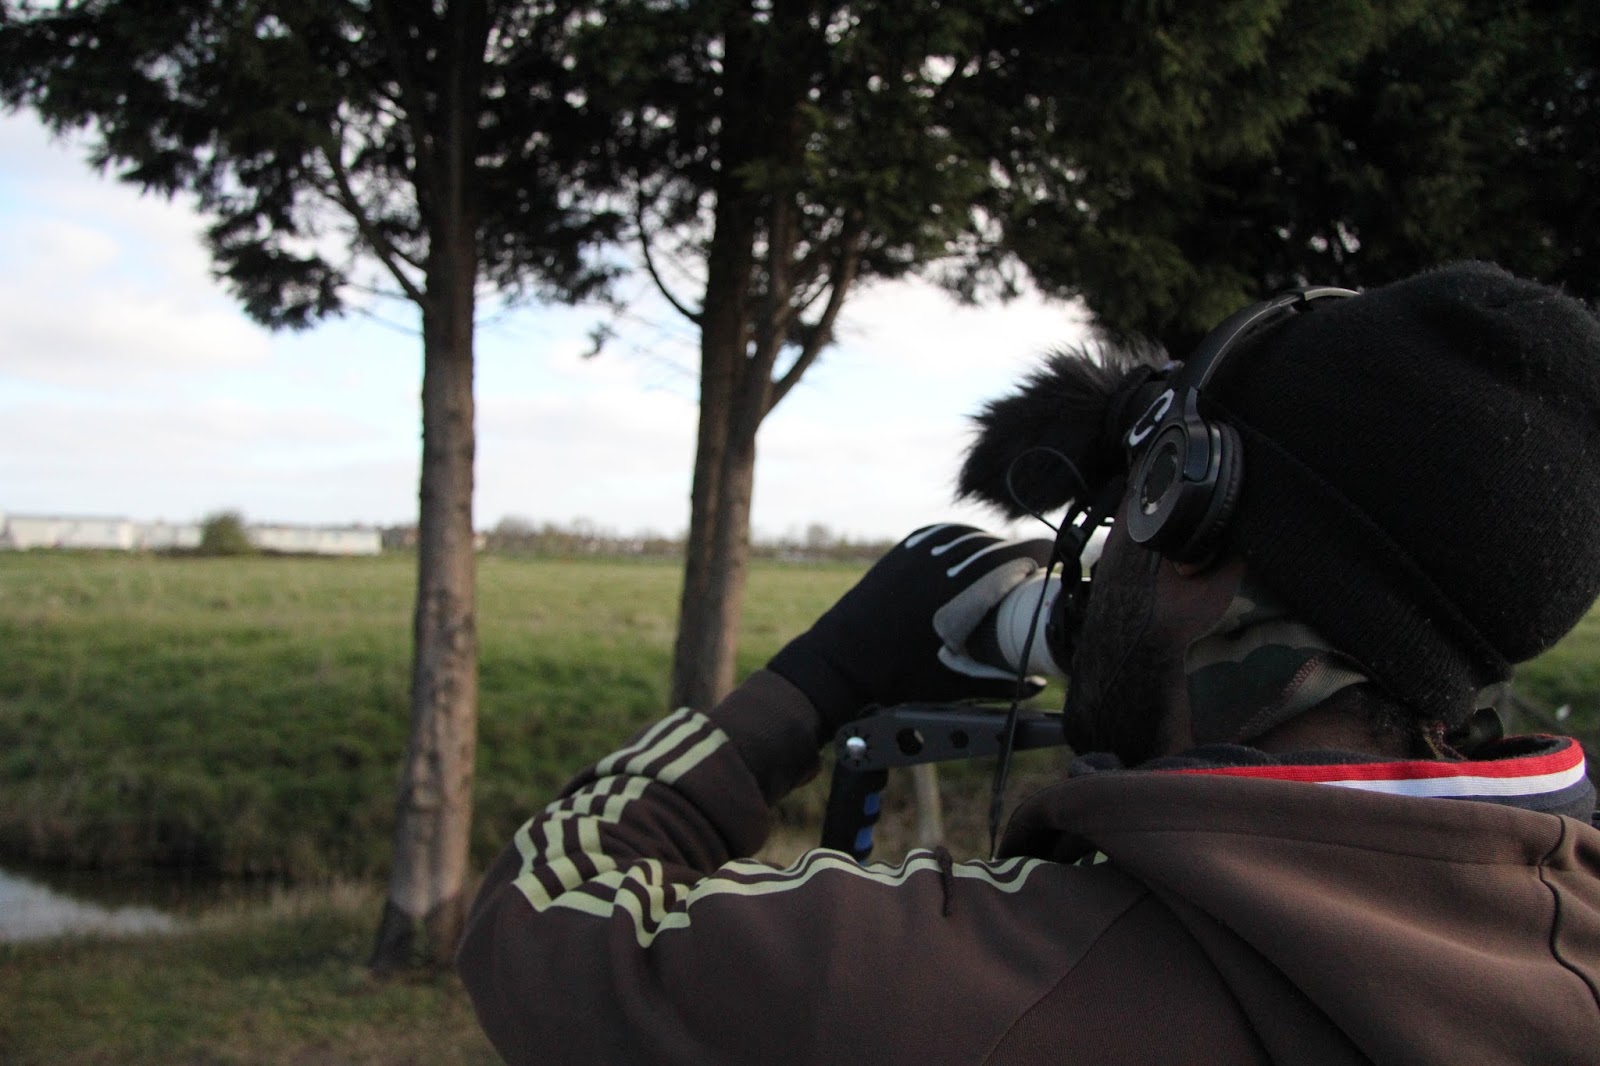
Having prepared using the golden hour app, i set out at half 4am in the morning to get to sheerness early to set up for golden hour, as the window of opportunity to film during this hour was 45 minutes:

On the way to sheerness i wanted to get some additional shots as i was driving over the bridge just before golden hour, especially with the sheerness signage in the shot to let the audience know where the story is taking place.


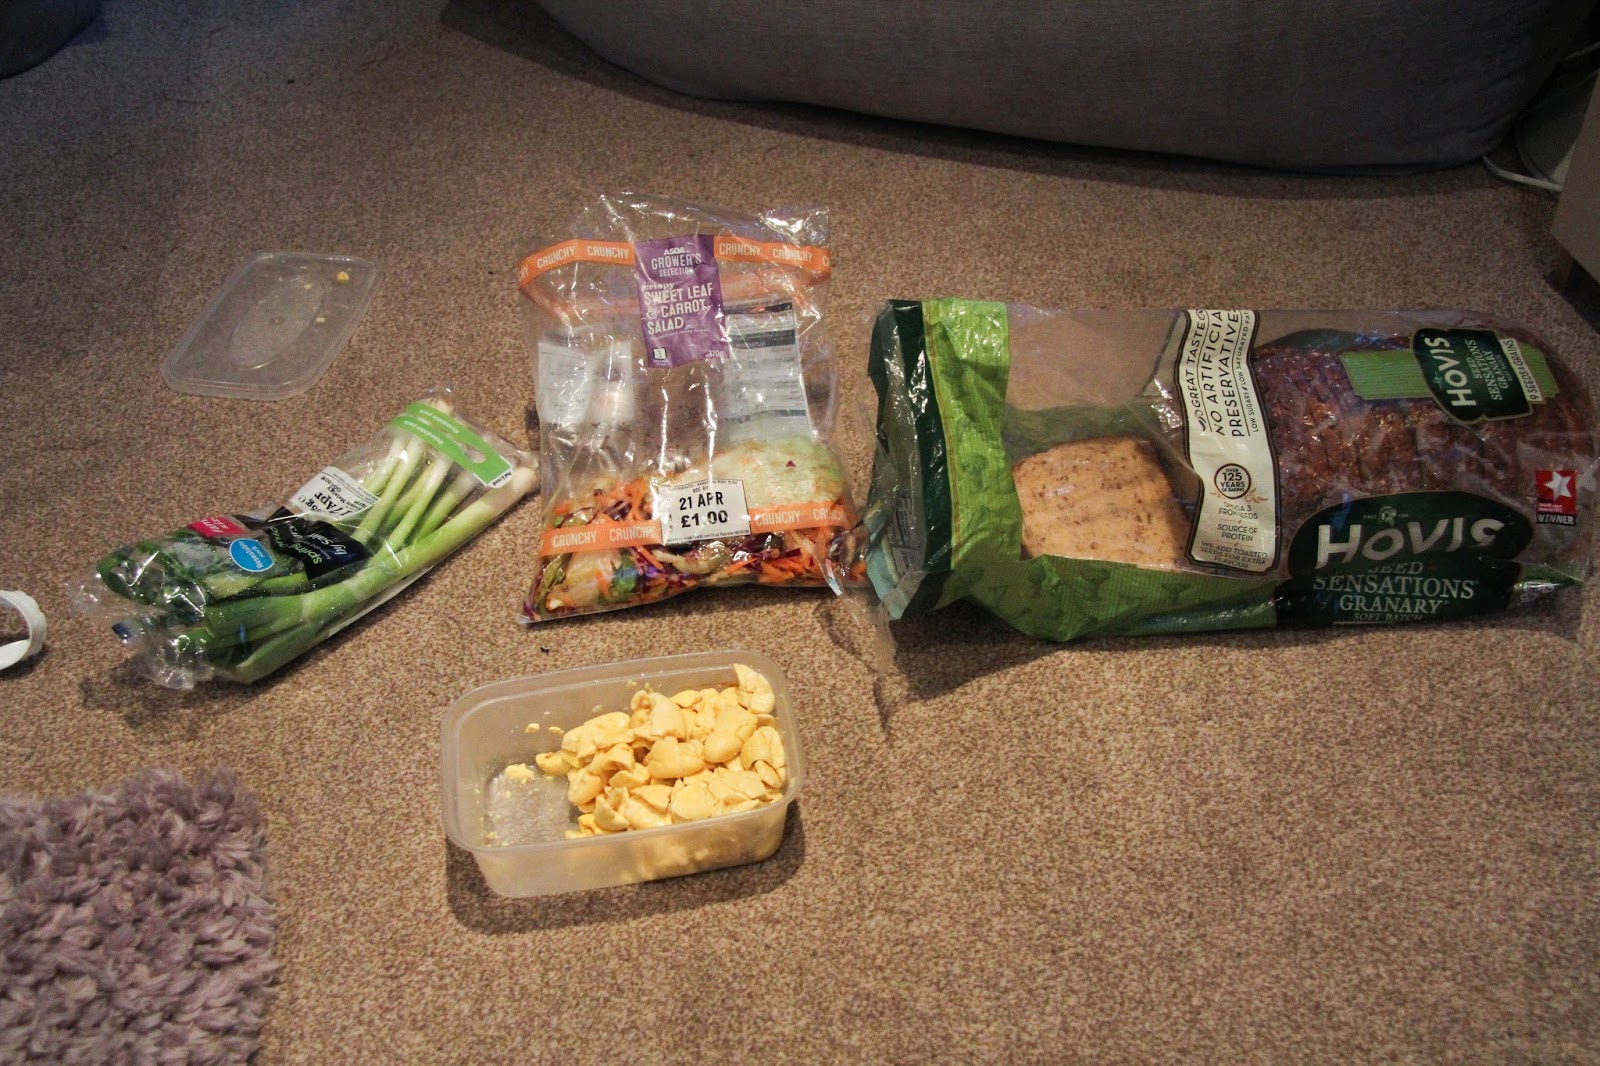
Because the caravan site where Oli lives has animals on the site, such as: rabbits, ducks, moorehens across the lake plus heron, geese and Owls, and i wanted them to be in shot, to try and help me lure them out, the food that i brought along with me was:
Brown bread
Ackee
Chopped Vegatables
Spring onions
The shot list that i’ve got for this shoot mainly comprises of establishing shots of the caravan site; getting in the animals on the site and various locations throughout the site, then Oli leaving his caravan during the golden hour and going for a jog. (Following the shortlist checklist that i created)
The food came in handy, attracting the seagulls and also the ducks, however, the rest of the animals unfortunately was not local during the shoot.
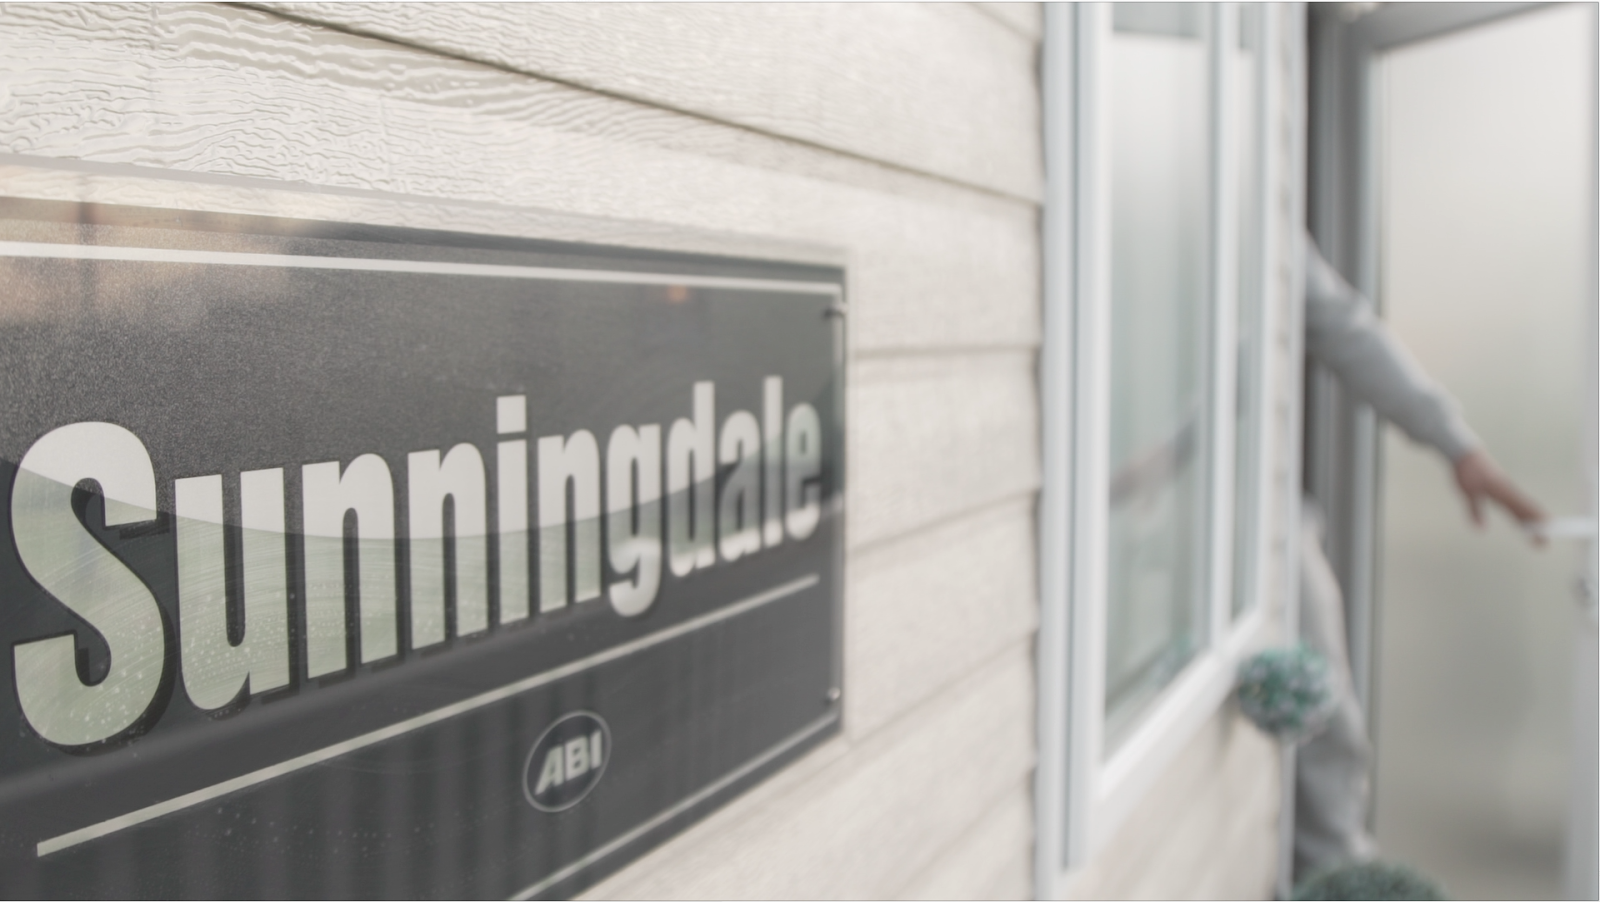
Here’s the establishing shots of the Caravan site and also the sequence of Oli leaving his caravan to go for a jog, with the animals roaming outside of his caravan
Caravan site establishing shots


Caravan sequence establishing shot


Caravan sequence


To get the tracking shots of Oli jogging, we went to a few remote areas where cars don’t drive down and had him jogging along the pathways on those roads, with my friend Chris driving as i was filming Oli holding the camera stead from inside the car. The side shots of Oli jogging was filmed using my canon 24-105mm lens at F4 with an ND filter on it to stop down some of the light whilst maintaining the shallow DOF. The reason that i used the 24-105 was so that i could zoom in and out quickly to get the shot types that i needed throughout the shoot, as during golden hour we only had a small window of time to film in.
Oli Jogging side shots


To get the frontal view of Oli Jogging, i had to open up the boot and place the camera on the tripod inside of the boot, operating the camera from the back seat as Chris was driving. To achieve the shallow DOF i used my canon 70-200mm f4 at f4 zoomed in at 160mm with the ND filter attached to the front to stop down the light
Oli Jogging frontal shot


